Introduction
In the previous article, Installing the tinydrm driver for the ILI9341 TFT Display on a Raspberry Pi, I explained how to install a TFT display on a Raspberry Pi 4. I'll be using that same setup to run an LVGL demo on the display using the DRM driver.
I'm using the following hardware and software setup for this tutorial::
- Hardware: Raspberry Pi 4
- Kernel Version: 6.12.47+rpt-rpi-v8
- Display: TFT ILI9341
- libdrm-dev: 2.4.123-1
- lvgl: v9.4.0
- lv_port_linux
Install LVGL demo and library
Clone the LVGL demo repository. Then, check out the latest version of the LVGL library—version 9.4.0 at the moment
git clone https://github.com/lvgl/lv_port_linux.git
cd lv_port_linux/
git submodule update --init --recursive
cd lvgl/
git checkout v9.4.0
Install drm library
We need the DRM library to communicate with the TFT display's DRM driver. Install it with this command:
sudo apt-get install libdrm-dev
Setup the library to run LVGL using the drm driver
The LVGL library uses the framebuffer driver by default. To change the driver, we need to edit the lv_conf.defaults file and modify the following lines:
# Simple framebuffer device
LV_USE_LINUX_FBDEV      0

# DRM Support
LV_USE_LINUX_DRM        1

# Input support (enable when using FBDEV or DRM)
LV_USE_EVDEV    0
We won't enable any input device yet, but I'll explain how to do so in a later article.
Compile and run the demo
Execute the following commands to compile the demo:
cmake -DCONFIG=default -B build -S .
make -C build -j
Set the following environment variable [1] before executing the demo to specify which graphics card to use:
export LV_LINUX_DRM_CARD=/dev/dri/card1
IMPORTANT: The graphics card number may change each time you boot the Raspberry Pi. Confirm the number with the command: ls -al /sys/class/drm/
Run the demo with the following command:
./build/bin/lvglsim
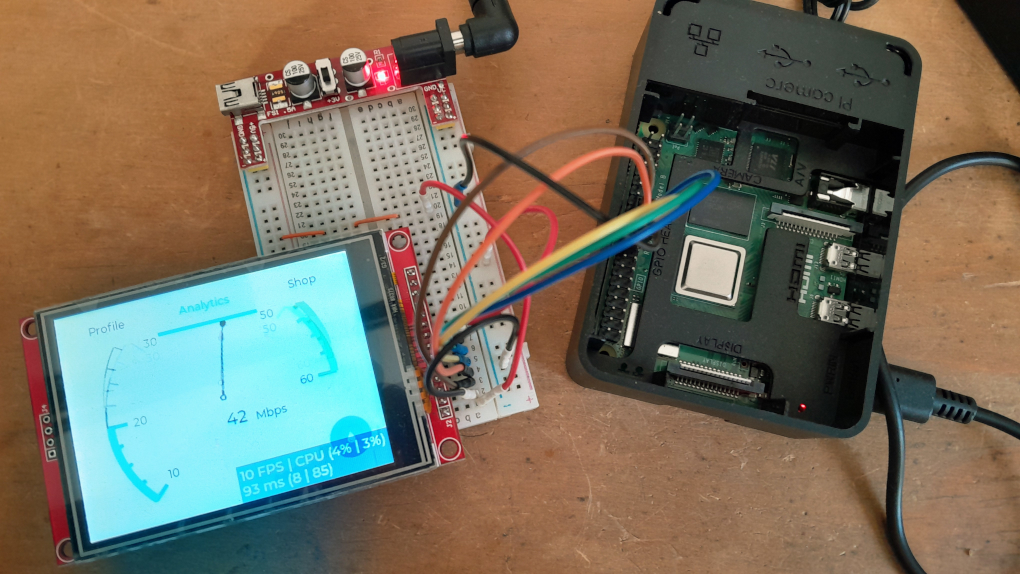
The following video demonstrates the demo running on the display:
The next logical step is to enable the touchscreen as the input device to make the GUI interactive, a topic I'll cover in an upcoming article.